Camera sensitivity
Check the sensor and day/night system at both wavelengths.
 IR & Project Lighting
Wavelength Comparison
Choose 850nm when practical camera response and range are the priority, subject to testing with the sensor. Choose 940nm when lower visible emitter glow is more important and the camera provides enough sensitivity. Neither wavelength is universally better; compare them with the intended camera and scene.
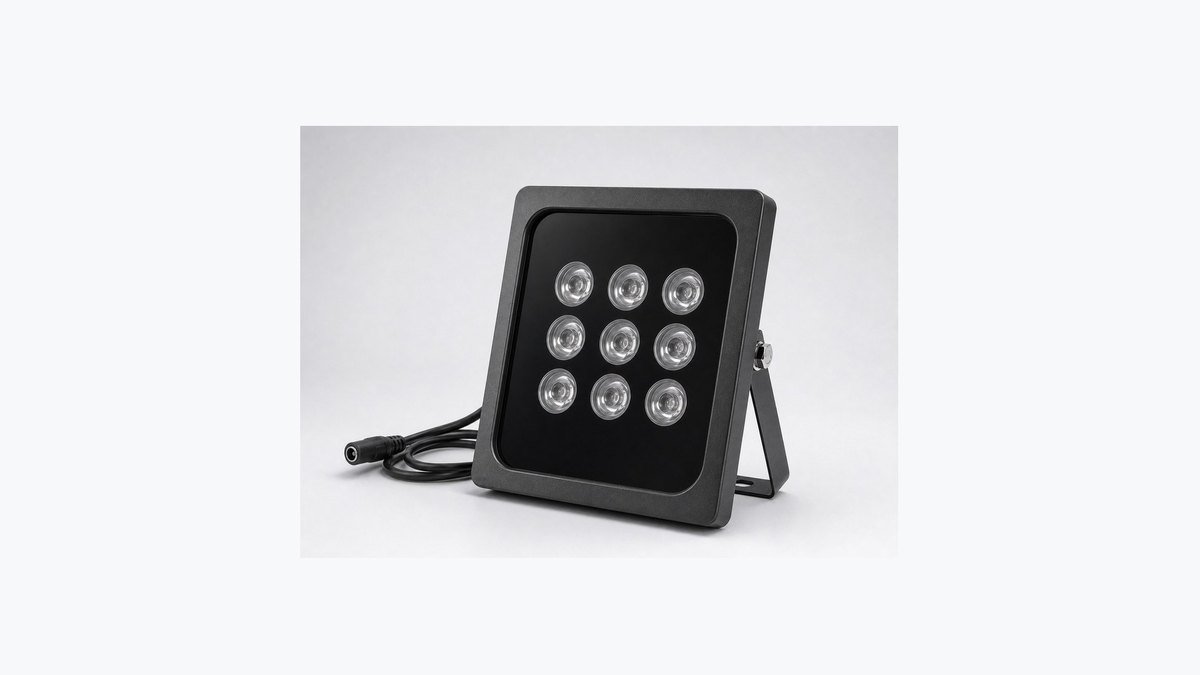
Decision First
Check the sensor and day/night system at both wavelengths.
Define how much discretion the application actually requires.
Measure the scene and compare usable images, not only catalog range.
Run both samples with identical camera, lens and settings where possible.
Selection Snapshot
| Factor | 850nm direction | 940nm direction |
|---|---|---|
| Typical buyer priority | Stronger practical camera response | Lower visible emitter glow |
| Camera check | Confirm day/night and IR-cut behavior | Confirm adequate 940nm sensitivity |
| Distance | Often the first option for longer practical coverage | May need different optics or exposure |
| Best decision method | Side-by-side night test | Side-by-side night test |
Camera sensors do not respond equally across the infrared spectrum. Many security cameras provide stronger usable response near 850nm than 940nm, but the exact difference depends on the sensor, IR-cut system, lens and firmware.
Request sensitivity information when available, then confirm it with the production camera. A sample test is especially important when a long distance or fast shutter is required.
940nm is selected when reducing visible emitter glow is important. It should not be described as guaranteed invisible in every condition, because perceived glow can vary with emitter design, proximity and the observer.
Ask whether discretion is essential or simply preferred. If it is only preferred, 850nm may provide a more forgiving camera response; if it is essential, test whether 940nm still meets the image requirement.
Mount both test units at the same location, use the same beam footprint, camera, lens and settings, and capture the same target. Compare center and edge brightness, motion, noise, gain, shutter, reflections and visible glow.
Document the selected wavelength with the final model and configuration. Do not apply a result from one camera to every future project without checking sensor differences.
Project Recommendation
Send the camera model, distance and discretion requirement. We will suggest a fair sample comparison and the information to record.
Clear Answers
850nm often provides stronger practical response on many cameras, but there is no universal distance result. Beam, power, lens, sensor, settings and site conditions all matter.
It is more accurate to call it low-visible-glow. Do not rely on an absolute invisibility claim without evaluating the exact product and viewing conditions.
Possibly, but compare the beam footprint and usable camera image. Different products or sensor response may require a different optical choice.
Test both when discretion and image range are both important, when the camera sensitivity is unclear, or when the project has a strict acceptance target.

